Home > Recipes > Desserts > Pumpkin Pie Cheesecake
Baking for the holidays can be (and is) incredibly stressful. Being home for the holidays is one stress in itself, your baking has to please a crowd, the kitchen is already packed to the max, and the stores ran out of the ingredients you need 3 weeks ago.
2 years ago I discovered this Pumpkin Pie Cheesecake recipe from King Arthur Flour (thank you promoted Instagram posts) a little bit before Thanksgiving. It looked absolutely delicious and decided I was going to make it for my family that year. A week later I made and it was a total hit with my family! That Christmas and the Thanksgiving and Christmas the following year I was requested to make it again. It’s like “my” dessert now.
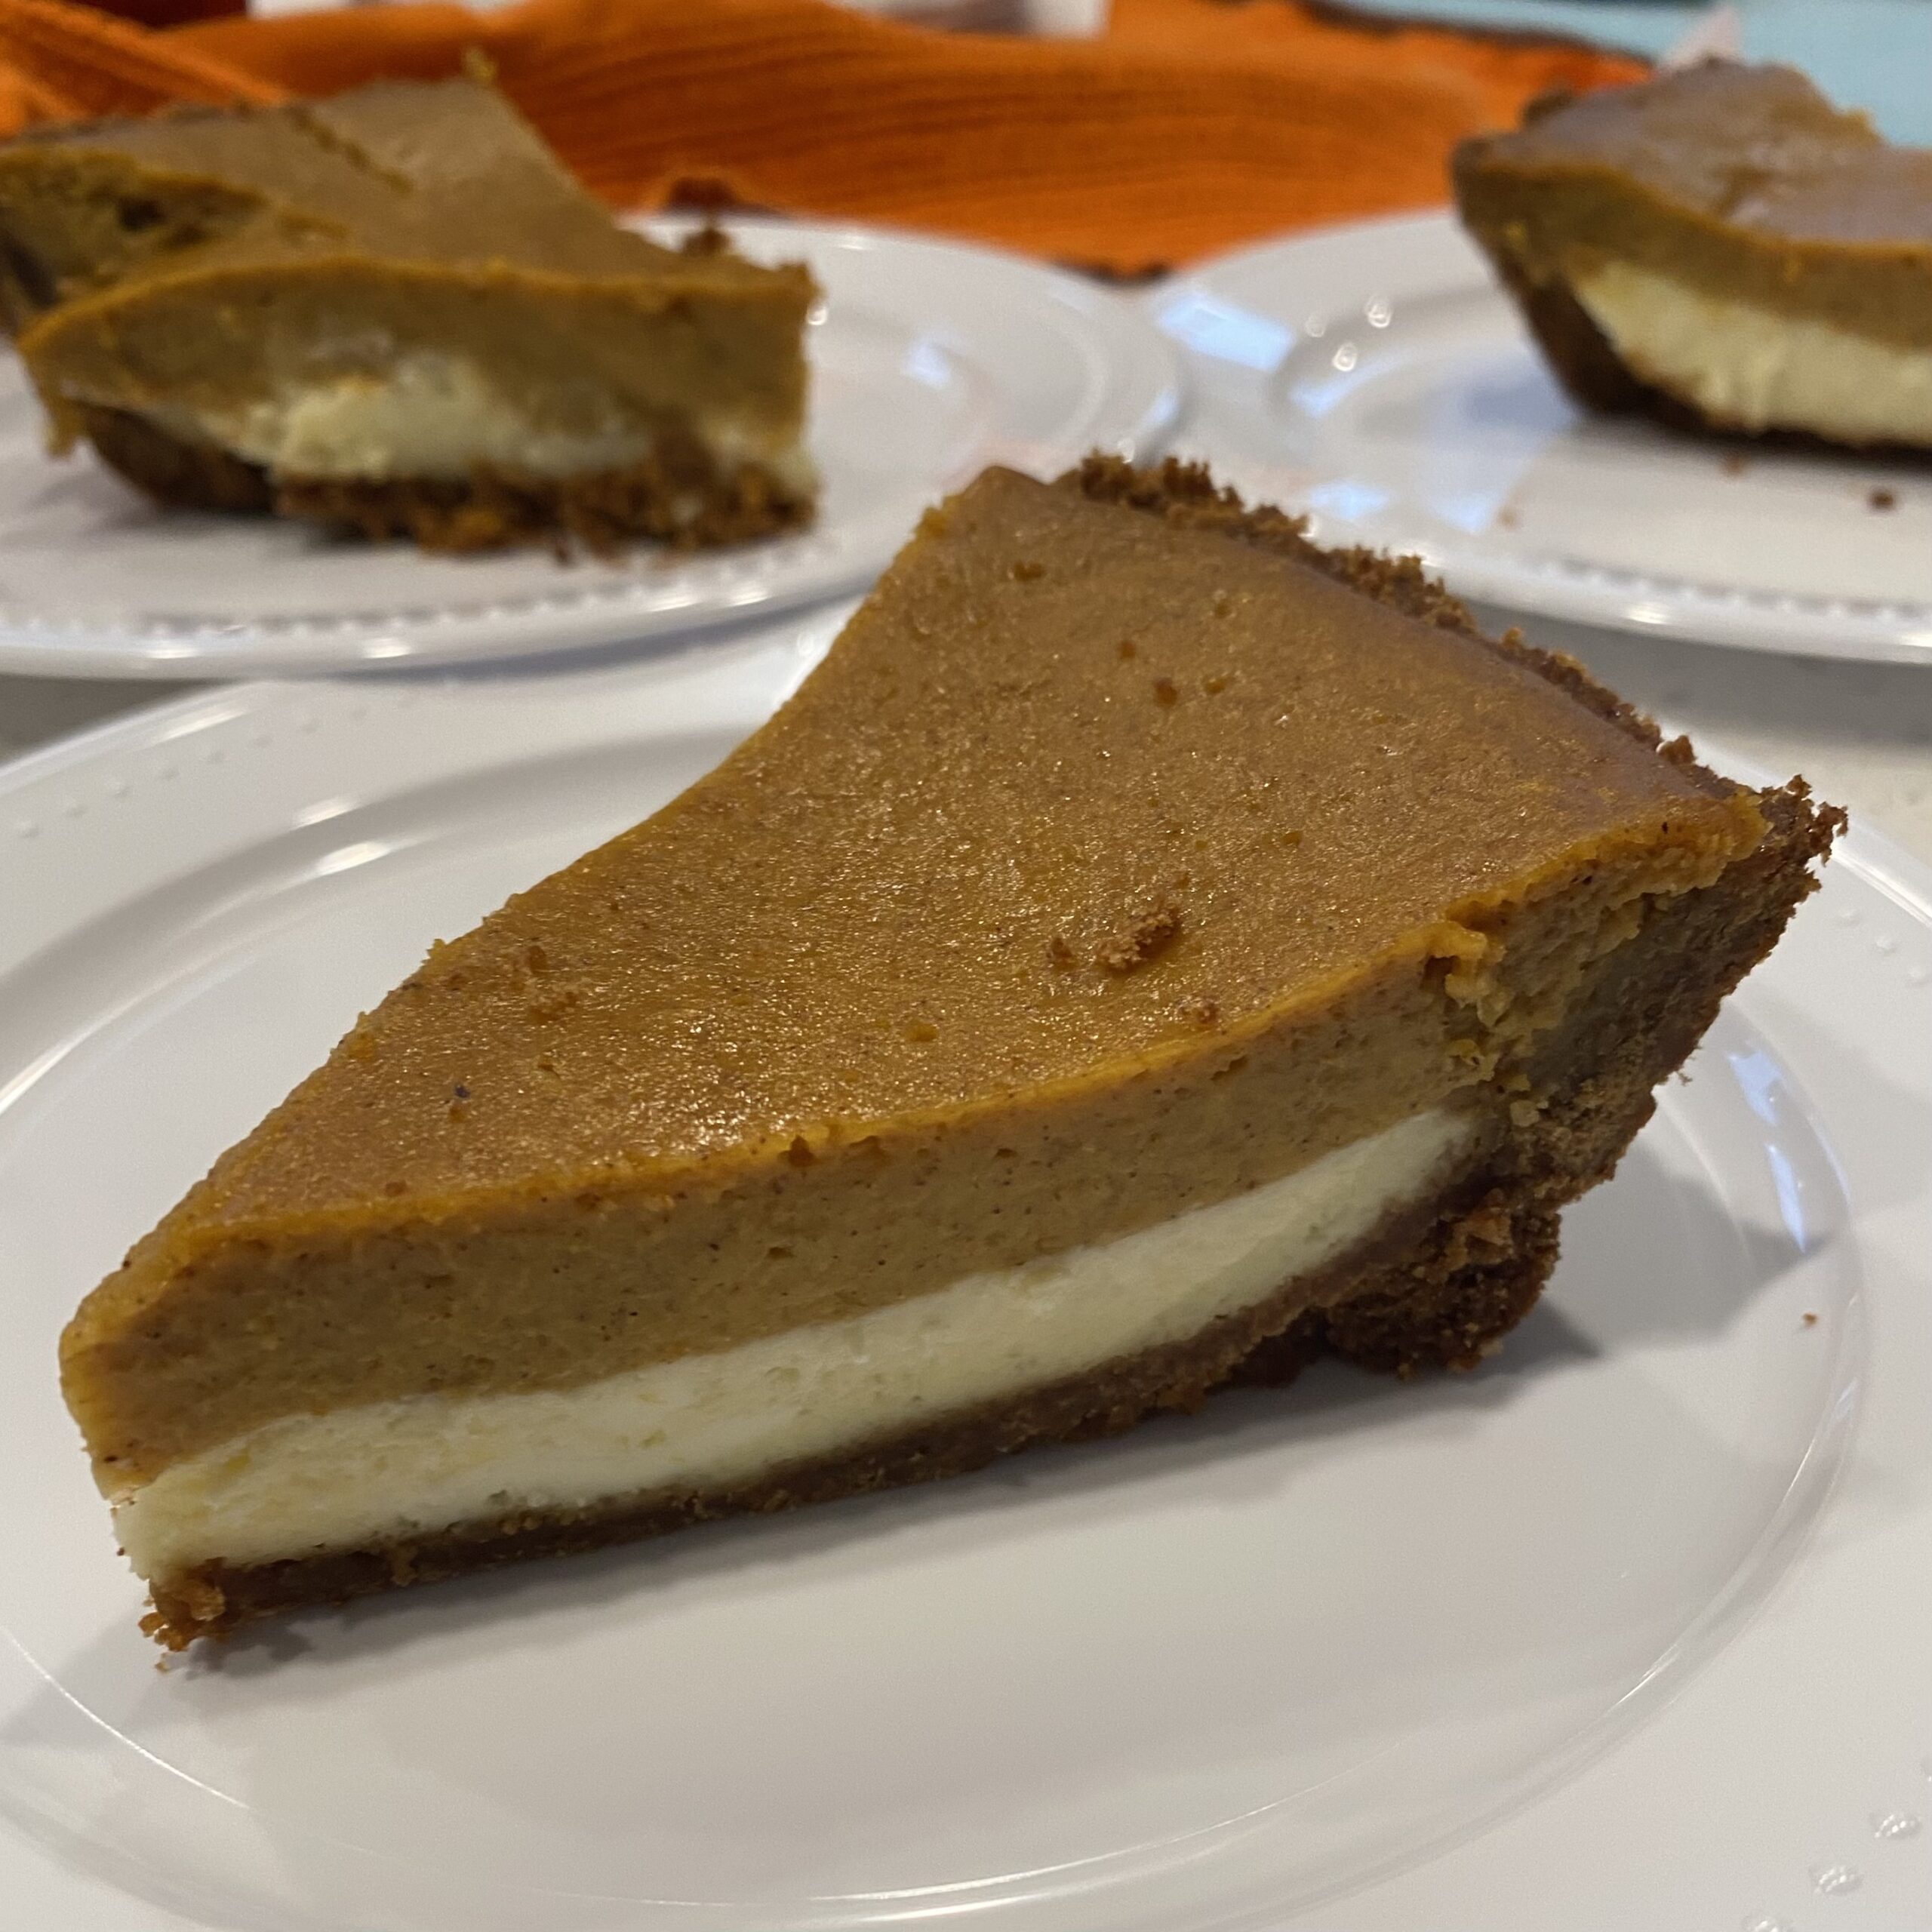
I think what makes this pie/cheesecake (I don’t really know what it is exactly, maybe a pie since it has a crust) such a hit is that it’s a perfect mix of two classics: Pumpkin Pie and Cheesecake. Who doesn’t love those two desserts? Even my lactose-intolerant uncle loved this pie. The gingersnap crust and the spices in the pie mixture is the perfect blend to have great flavor but not be too sweet.
This pie is also pretty easy to make with only needing two kitchen supplies that most people probably have, a food processor (which you can get away with not having, you just have to crush the gingersnaps by hand) and a pie tin/plate. If you have never made a pie or cheesecake before it isn’t too difficult. The nice thing about this recipe is that you don’t need to make your own traditional pie crust, which can sometimes be difficult. This pie is served chilled so this is a perfect dessert to make ahead of all of the holiday kitchen madness.
Ingredients:
Gingersnap Crust:
- 1 ¼ cups gingersnap cookie crumbs*
- ¼ cup unbleached flour
- ¼ teaspoon ginger
- 2 tablespoons packed light brown sugar
- 4 tablespoons melted unsalted butter
- ¼ teaspoon table salt
* Start by pulverizing about 27 to 38 gingersnap cookies, depending on size, in a food processor
Cheesecake Filling:
- One 8-ounce package of room-temperature cream cheese
- ⅓ cup granulated sugar
- 1 large egg, at room temperature
- 1 teaspoon vanilla extract
Pumpkin Filling:
- ½ cup granulated sugar
- ¾ teaspoon cinnamon
- ¾ teaspoon ginger
- ¼ teaspoon nutmeg
- ⅛ teaspoon allspice
- ⅛ teaspoon table salt
- 1 ¼ cups pumpkin puree
- ⅔ cup evaporated milk or light cream
- 2 large eggs, at room temperature
Instructions:
- Preheat oven to 300℉.
- Gingersnap Crust: Combine all ingredients in a food processor and pulse until evenly mixed. The texture of the crumbs should be like wet sand and hold together when squeezed. (If you do not have a food processor mix in a large bowl)
- Press crumbs, firmly and evenly, into the bottom of a 9” pie pan
- Bake the crust for 10 to 15 minutes, just until you can smell the gingersnaps baking. Remove from oven and let cool while you make the cheesecake filling.
- Cheesecake Filling: Wipe out food processor (or bowl). Add the cream cheese and sugar and process until smooth. Scrape down the sides of the bowl, add the egg and vanilla, and process until smooth. Transfer the mixture to the cooled crust, spread into an even layer, and place in the refrigerator to chill while the oven preheats (or at least 25 minutes!)
- Preheat the oven to 425℉
- Pumpkin Filling: In a medium bowl, whisk together the sugar, spices, and salt. Stir in the pumpkin puree, evaporated milk (or light cream), and eggs. Whisk gently until smooth. Slowly pour the pumpkin filling over the chilled cheesecake filling – pour close to the cheesecake to reduce the risk of bubbles
- Place the pie on a baking sheet and bake for 15 minutes. Reduce the oven temperature to 350℉ and bake for 40 to 45 minutes. The pie is done when it looks mostly set but with a slightly wobbly center; the center should read 165℉ on a digital thermometer. Remove from the oven and let cool to room temperature. Transfer to the refrigerator and chill completely (at least 2 hours) before serving.
Original Recipe found here